
How To Make Baby Shoes With Spoonflower Fabric and Pattern
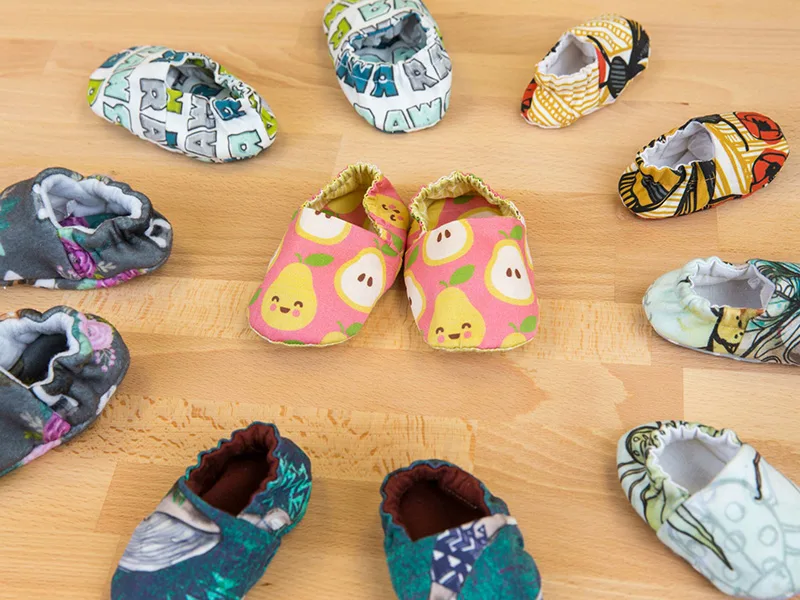
Both soft and flexible, handmade baby shoes are ready to keep little feet protected! Using just two fat quarters of fabric, baby shoes make a great stash busting project, or you can mix-and-match designs with Fill-a-Yard™ to make multiple pairs from one yard.
How to Choose The Right Baby Shoe Fabric and Design
When choosing a fabric, stick to lightweight woven fabrics like Organic Cotton Sateen (the fabric we used for this tutorial), Cotton Poplin or Lightweight Cotton Twill. Thicker fabrics are more difficult to work with, especially when you’re working with multiple layers. For a pair of shoes with a little stretch, Modern Jersey or Organic Cotton Knit will do the trick. Spoonflower has the World’s Largest Textile Design Library so you are such to find a print you love. To help you find the best one for this project we have some tips:Tip 1: Choose the Right Scale
You’ll want to choose a small scaled design. At the largest size, a finished baby shoe is only 5″ long x 2.5″ wide—so smaller scaled designs will shine more on your shoes than larger ones.Tip 2: Consider a Ditzy Design
A ditsy design is small in scale, and the design motifs are usually scattered or random rather than being ordered in a definable pattern like rows or stripes.Tip 2: Order a Swatch First
Preview your design on a swatch first. Before ordering yardage, buy a fabric swatch first. This will give you a better idea of what parts of the design will fit within your shoe pattern pieces.How to Make DIY Baby Shoes
Now that we’ve gone through the tips, let’s go through the steps!
Materials To Make DIY Baby Shoes
- 1 fat quarter for the outer fabric—We’re using the design Happy Pears
- 1 fat quarter for the lining fabric—We’re using the design Dunes – Geometric Waves
- 1 fat quarter for the sole fabric—Faux leather will provide a nice grip for a standing or walking baby but you can also use Tulip® Puffy™ Dimensional Fabric Paint to create a fun non-slip sole pattern!
- Spoonflower’s free baby shoe pattern—available for sizes 0-15 months
- 1/4 yard of fusing lightweight interfacing
- 1/4″ wide braided elastic—the length will be determined by the shoe size below, but will require no more than 10″
- Coordinating thread
- Pins (applique pins work really well for me)
- Iron
- Fabric scissors
- Sewing machine – We’re using our BERNINA B350
- 1/4 yard fusible batting (for extra cushion, optional)—We’re using Fairfield Fusi-Boo Fusible Batting
- (Optional) Corner pusher
- (Optional) Tailor’s ham
- (Optional) 2 Safety pins—they’re helpful when working with elastic
Part 1: Prepare Your Materials
Step 1: Cut out your paper pattern pieces
Select your paper pattern page from the PDF based on the final shoe size you’ll be making. Then print out the page and cut out the pattern pieces. When printing your pattern, make sure to select *Actual Size *on your printing options. To double-check that the pattern printed at the correct scale, make sure the test square measures 2”x2”.Step 2: Cut out your fabric to your paper
Lay out your pattern pieces on the fabric and cut out the pattern pieces***.*** We suggest making a mark at the center of the top and bottom of the toe and sole with a washable fabric marker. When you’re done cutting, you should have the following pieces:- 2 outer fabric
- 2 lining fabric
- 2 interfacing
- 2 outer fabric
- 2 lining fabric
- 2 interfacing
- 2 outer fabric
- 2 lining fabric
- 2 interfacing
- US Size 1 – 3 ¾” long
- US Size 2 – 4” long
- US Size 3 – 4 ¼” long
- US Size 4 – 4 ½” long
- US Size 5 – 4 ¾” long

Optional Step 3: Trim the batting
If using the optional batting, trim your sole pieces an additional 1/4” from the edge so they’re slightly smaller than your outer fabric sole pieces.
Step 4: Attach the interfacing
Iron on the fusible interfacing to the wrong side of the outer pieces for the toe, heel and sole following the manufacturer’s instructions. If you’re adding the optional fusible batting to the sole for extra cushion, iron it in place on the wrong side of the sole. The batting should be sandwiched between the outer sole fabric and interfacing.
Part 2: Create The Heel
Step 1: Stitch the fabric and interfacing together
Pin the right sides together of the outer heel and lining heel, and sew the longest edge (labeled A on your pattern). Press the seam open and trim about 1/8” off each side of the seam.


Step 2: Fold and press the fabric
Fold the heel in half (wrong sides should be together now) and press the seam.
Step 3: Create the elastic casing
Sew a 3/8″ seam from the folded edge to create a casing for the elastic.
Step 4: Insert the elastic
Attach a small safety pin to one end of the elastic to help slide it through the casing. Insert the safety pin and elastic into one open end of the casing.


Part 3: Create the Toe
Step 1: Organize your toe pieces
Lay the finished heel piece on top of the main toe piece (the finished elastic edge should face towards the center of the toe piece). Now it’s time to create a baby shoe sandwich: place the toe lining piece right sides together on top of the heel piece. Here’s what your baby shoe sandwich should look like:
- Bottom layer – outer toe piece, printed side up
- Middle layer – finished heel piece
- Top layer – lining toe piece, printed side down
Step 2: Stitch the heel and toe pieces together
Starting from the far left side, stitch to the center of the pinned toe piece, making sure to catch both the toe piece layers and the heel piece.

Step 3: Press the shoe piece
Turn the top of the shoe right side out. Delicately press the top of the toe piece and heel if necessary. We recommend using a press cloth during this step! Repeat steps 10 and 11 to create the second shoe top.
Part 4: Attach the Sole
Step 1: Organize your sole pieces
Place the sole fabric that you want to be on the bottom of the shoe right side down on top of the shoe top. Next, place the lining sole fabric right side up underneath the completed shoe top (be sure to line up any center lines during this process).

Step 2: Pin your sole pieces
Pin in between center lines and leave a 1” opening on one side. For thicker fabrics like Lightweight Cotton Twill, we recommend leaving a 1 1/2″ opening.
Step 3: Stitch your sole pieces together
Sew all the way around with a 1/4” seam, and then trim only the sewn edges to 1/8”. Repeat steps 12 through 14 for the second shoe.
Part 5: Finish the Baby Shoe
Step 1: Turn the shoe right side out
Now it’s time to see how everything has turned out so far. Turn your shoe so it’s right side out—you may need a corner pusher to complete this processStep 2: Hand stitch the opening close
Fold in the lining fabric and the outer fabric at the unfinished opening and pin. Hand stitch the opening closed.

Step 3: Press the baby shoe
Press any wrinkles and all finished seams. Repeat steps 12 through 17 for the other shoe.
Frequently Asked Questions
How would I care for these fabric baby shoes?
Following the fabric care instructions, you can machine wash them on a cool gentle setting with like colors.What is the size of a finished DIY baby shoe?
Our templete is designed in shoes 0-15 months. Here’s a break down of each measurement: Size 1 (0-3 months) = 3.75” lengthSize 2 (3-6 months) = 4” lengthSize 3 (6-9 months) = 4.25” lengthSize 4 (9-12 months) = 4.5” lengthSize 5 (12-15 months) = 4.75-5” lengthWhat type of design should I use to make baby shoes?
We suggest a small-scale ditsy design due to the size of baby shoes. Since they are small, we want your shoes to look great and your selected design to stand out.Spoonflower Sewing Projects
Made to order using unique designs from artists worldwide.
The World’s Largest Design Library for Wallpaper and Textiles
Discover a world of design—from minimalist to maximalist. Thousands of global artists, with new styles added constantly.
Custom Designs on Any Item
Our made-to-order model lets you print any design on any material. Coordinate patterns across rooms for a cohesive, personalized home.
Premium Materials, Always in Stock
Trusted by pros and enthusiasts, our responsibly sourced textiles and papers offer the perfect finish—from smooth to textured, delicate to durable.
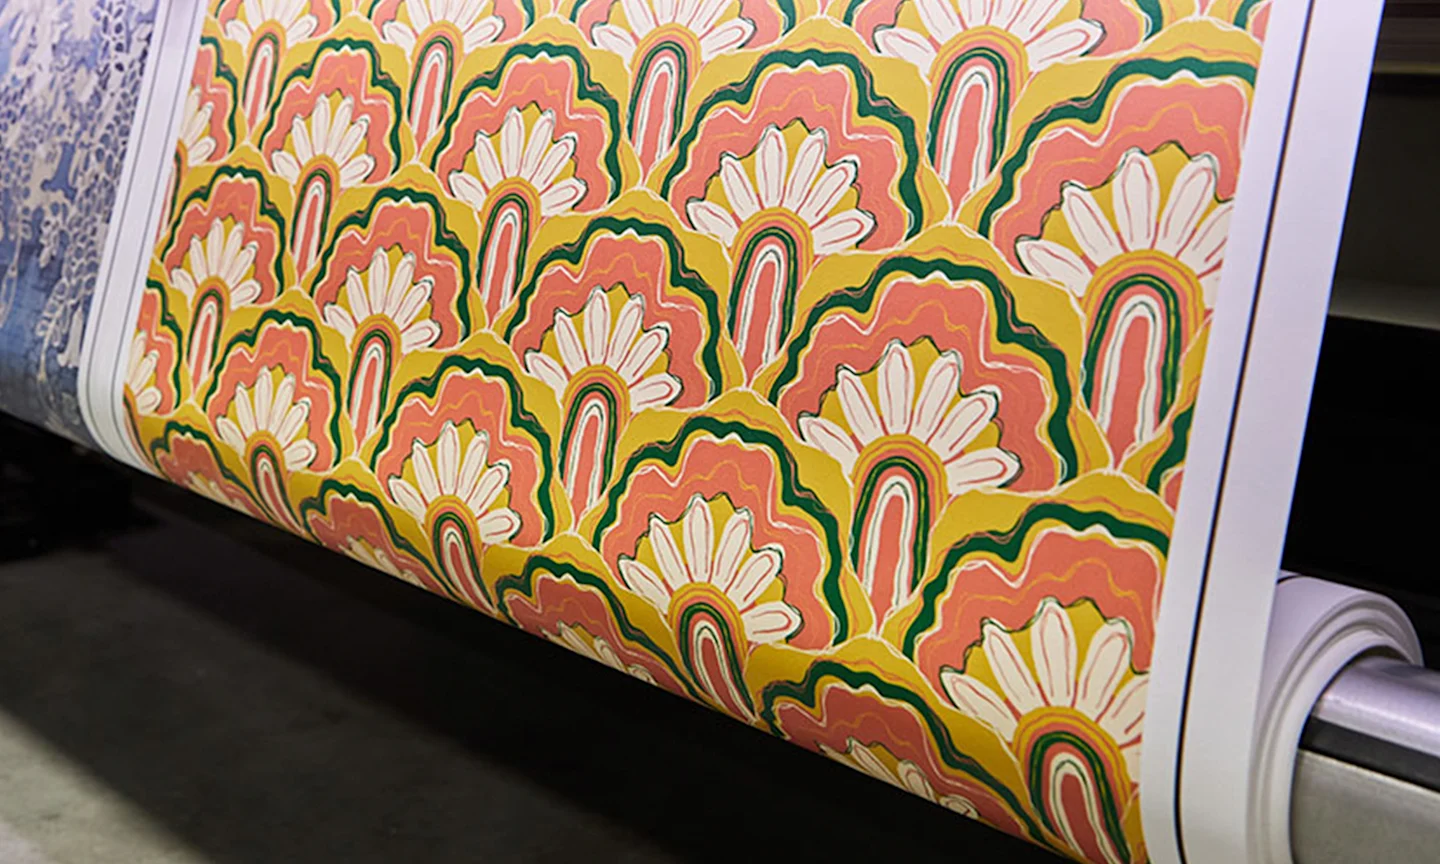
Printed on Demand in the USA
Our print-on-demand model lets you choose your design, material, and quantity—minimizing waste with non-toxic inks and reduced packaging.